
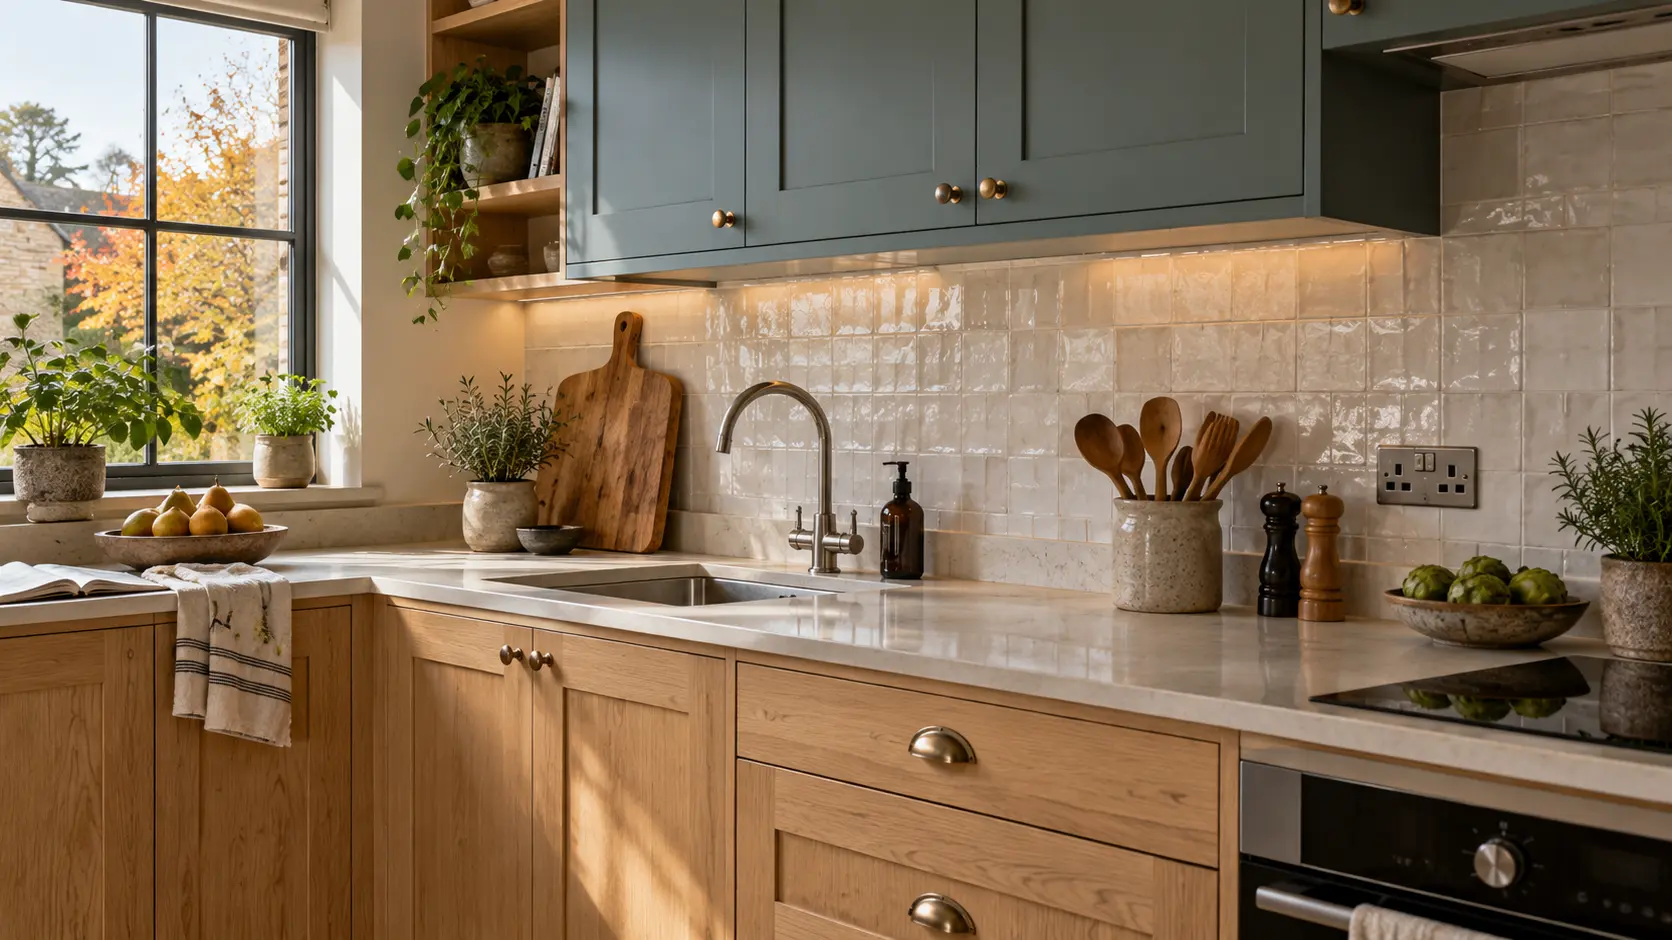
Kitchen details
Kitchen splashbacks: choose the material and plan the fitting
A beautiful sample is only the beginning: the edges, sockets and cleaning routine deserve just as much thought.


Kitchen splashbacks occupy a small area but sit directly in your eyeline. In the 2026 UK Houzz kitchen study, 71% of respondents adding or updating splashbacks chose slab styles. That makes continuous surfaces worth considering alongside tiles, with the practical details decided before ordering.
Draw the area you want to cover
Start with a simple wall elevation showing the hob, sink, cupboards and windows. Mark where the splashback begins and ends, including any return at the side of a cabinet. A finish that stops awkwardly halfway past a socket can undermine an otherwise calm scheme.
A low upstand and a full wall treatment create different compositions. Consider where you cook, wash and prepare food, then agree which areas need a suitable protective finish. Our kitchen refurbishment service can help coordinate these details with the wider installation.
Compare surfaces at useful scale
Tiles give you grout lines to compose; larger panels or slabs bring their own joins and edge details. Glass, metal, stone and manufactured surfaces also have different care instructions. Obtain samples large enough to judge the pattern beside your cabinet fronts.
Read our guide to choosing kitchen worktop materials alongside the splashback decision. The two surfaces need to sit comfortably together, whether they match exactly or provide a deliberate contrast.
The best splashback looks considered at its edges as well as across its centre.
Resolve heat, joints and sockets
Have the installer confirm that the selected product suits the appliance and location. The Bushboard Alloy installation guide, for example, includes specific movement allowances, cut-outs and hob clearances. Those details belong to that product; another material may need a different arrangement.
Agree socket positions and plate sizes with the electrician before fabrication. Look at the joint layout too: a short extra piece beside a window may be more noticeable than expected. Keep appliance instructions and the splashback specification together for the fitting team.
Include the finishing work
The quotation should identify wall preparation, templating where required, exposed edges, sealing and making good. Establish who coordinates the electrician’s visit and who checks the completed finish. Before signing off, obtain the cleaning instructions and inspect corners, joins and socket surrounds under the kitchen lighting you will actually use.
Find out how Builders of London can help
Planning a kitchen update in London or Kent? Talk to BOL about coordinating the surfaces, services and finishing details.
Planning a project?
Tell us about your renovation and we’ll help you plan the next step.
Book a consultation → 0203 834 9626Join The BOL Edit
Fresh project ideas and practical renovation advice, delivered to your inbox.
Subscribe to The BOL Edit. Confirm by email. Unsubscribe any time. Privacy Policy.